Email Notifications
Choose who gets emailed, personalize messages with merge tags, and pick a reliable way to send them.
Free: Two Emails From Your Settings#
Every free form sends an Admin Notification and a Confirmation Email. Set both under HappyDivi Form → Settings → Email.
Pro: Notifications for Each Form#
Open the form module and go to Email Notifications. Add as many as you need. Each has its own Send To, Additional Recipients, CC, BCC, From, Subject, Body and Attach Files, and can send only when conditions match.
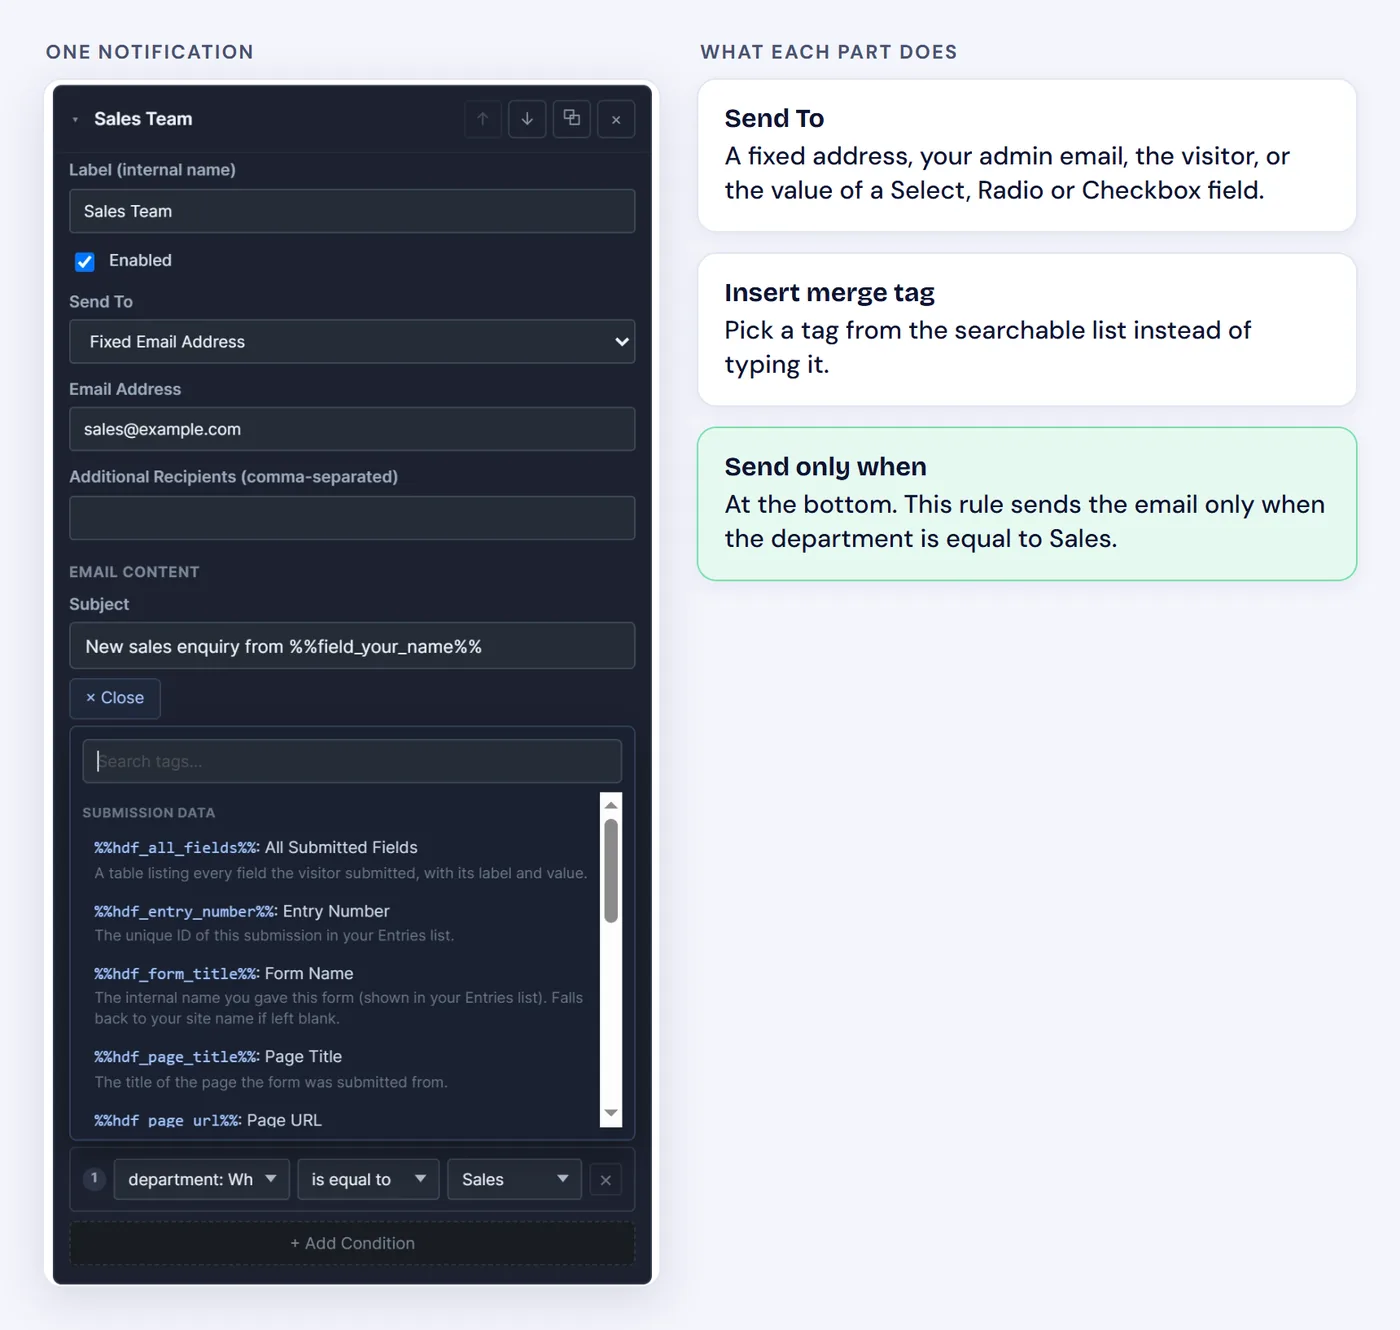
Each notification has its own recipient and condition.
See the step-by-step guide to sending emails to different people based on the answer.
Merge Tags#
| Tag | Adds |
|---|---|
%%field_your_id%% | The answer from the field with that ID |
%%hdf_all_fields%% | A table of every submitted field |
%%hdf_entry_number%% | The entry number |
%%hdf_form_title%% | Your form name |
%%hdf_page_title%%, %%hdf_page_url%% | The page it was sent from |
%%hdf_date%%, %%hdf_time%% | When it was sent |
%%hdf_ip%%, %%hdf_user_agent%% | The visitor's IP and browser |
An unknown tag stays visible as plain text, so a typo is easy to spot. Pro also adds {{if field is "value"}}...{{else}}...{{/if}} to change part of a message.
Use paragraph tags in email bodies
Emails are HTML, so pressing Enter does not make a new line. Wrap each paragraph in p tags.
Choose How Email Is Sent#
Go to Settings → Email and choose WordPress Default, Brevo, Postmark or SMTP. If you already use a mail plugin, the screen shows it. Many hosts do not deliver default PHP mail reliably, so we recommend one of the other three for real sites.
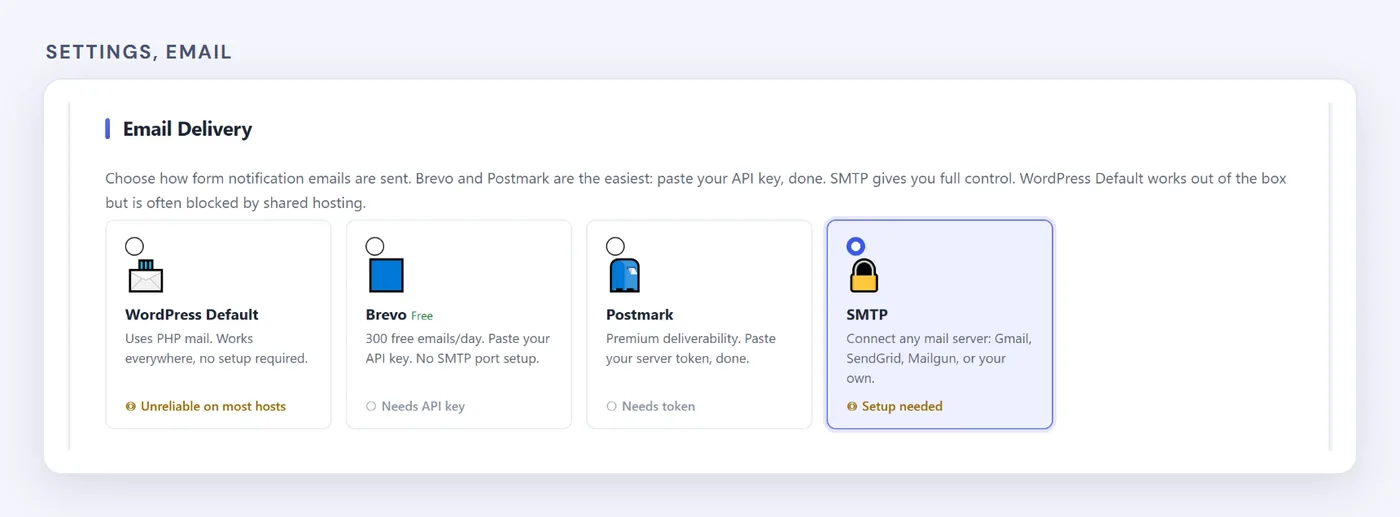
Then click Send Test Email to check it.