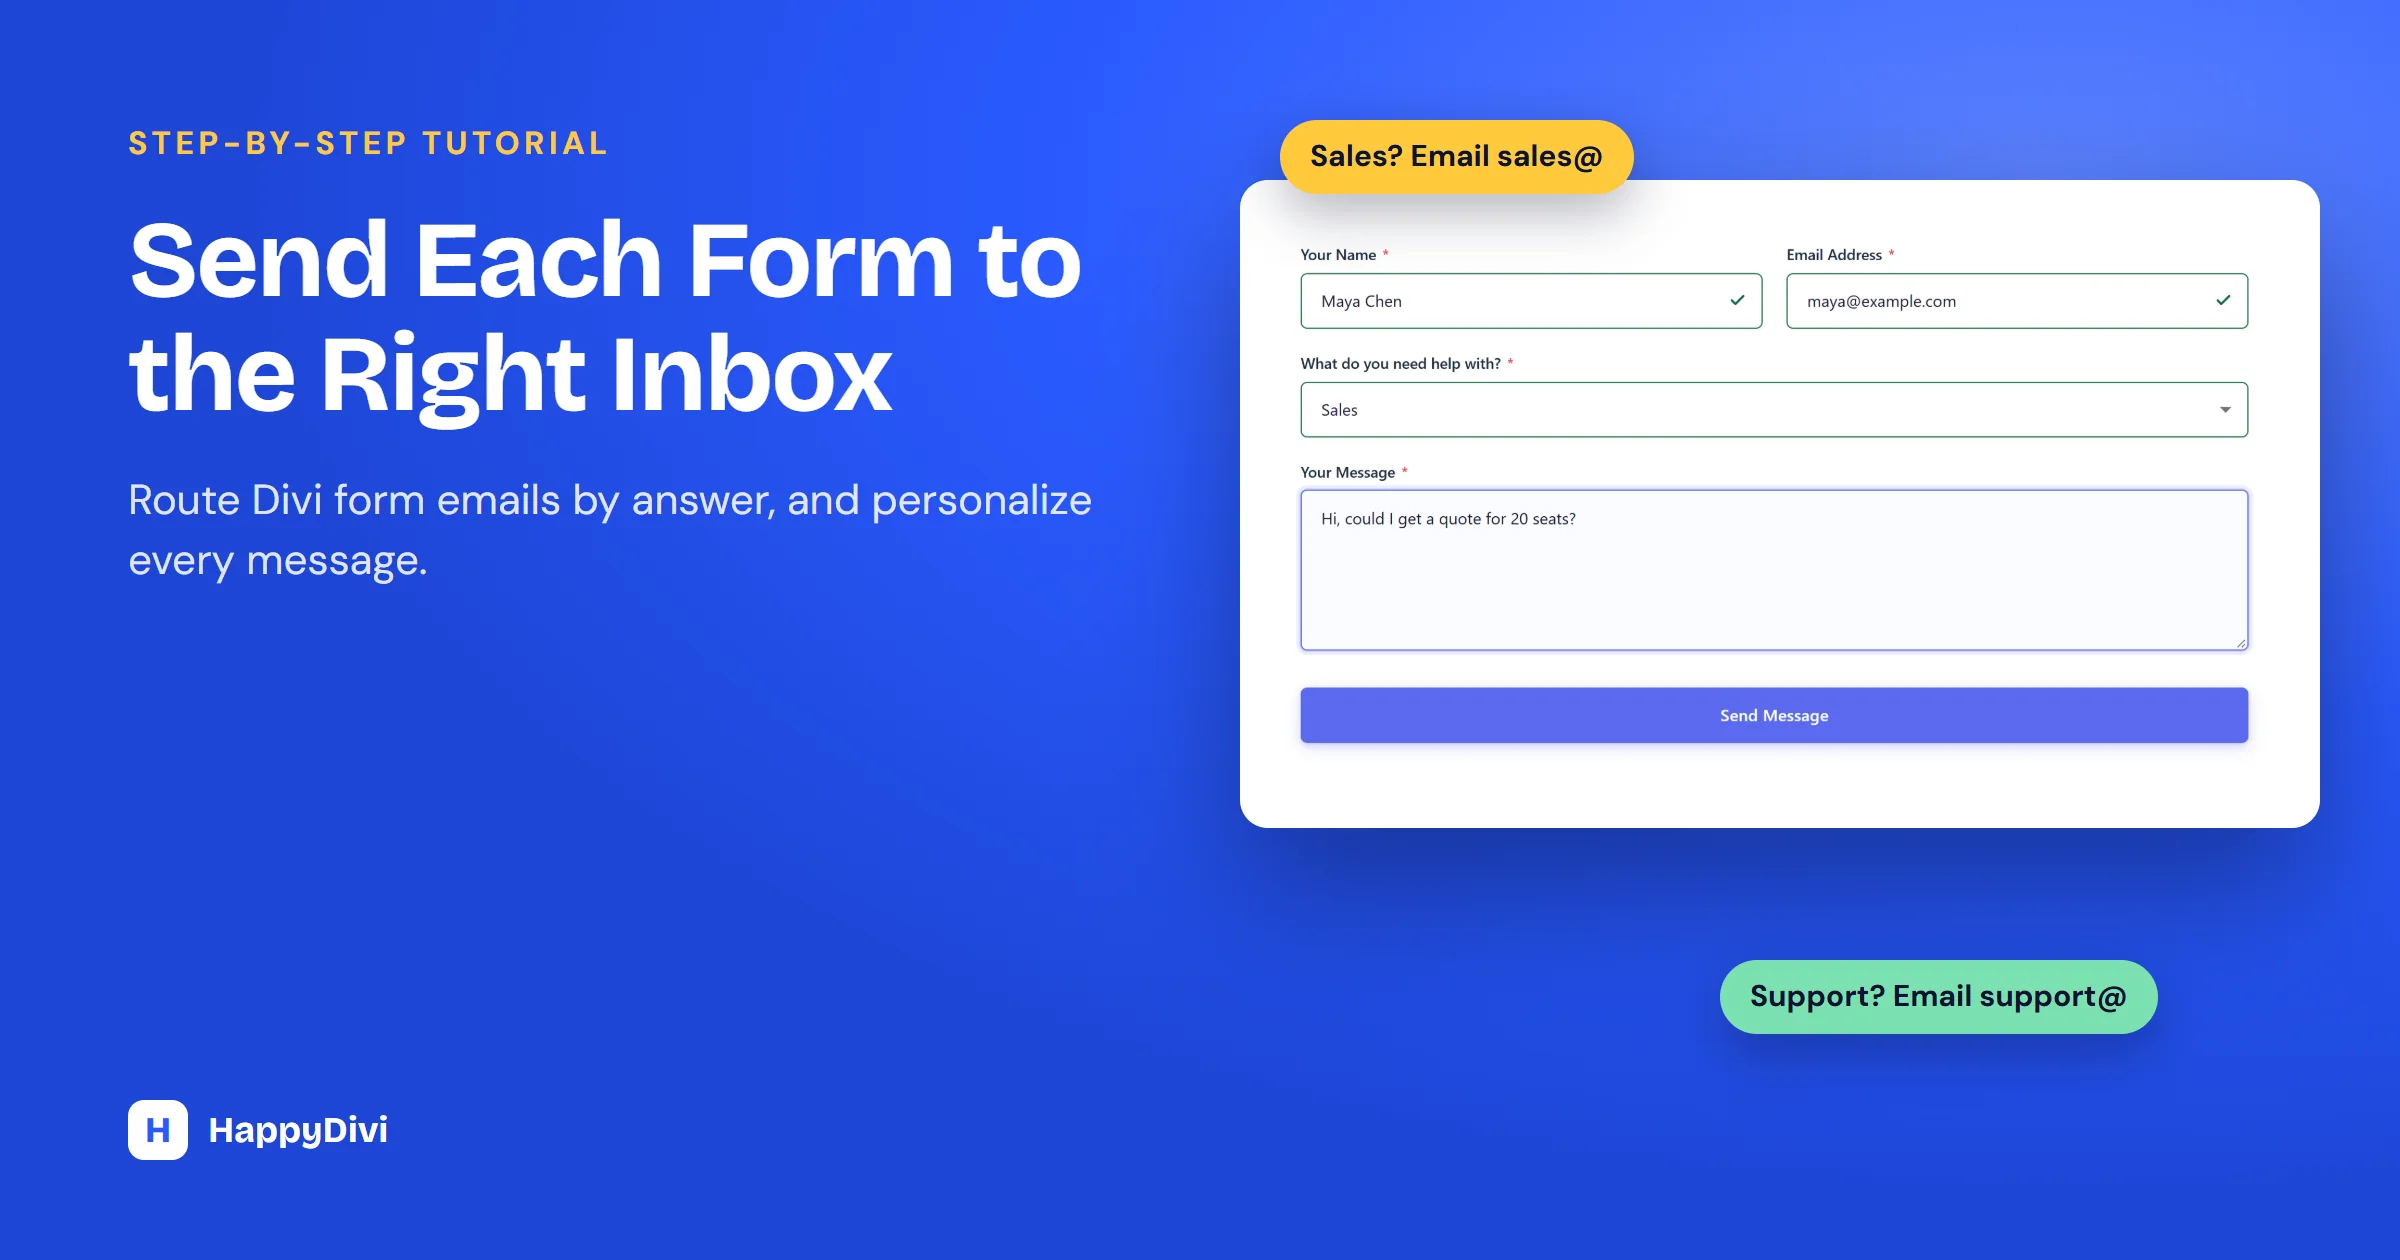
To set up a Divi form conditional email, which goes to different people based on an answer, use a form with conditional notifications. In HappyDivi Form Pro, add one notification per team, give each its own recipient, and set Send only when to match the answer. A visitor who chooses Sales then emails only your sales team.
Picture a shared inbox where sales leads, support requests and invoice questions all land together. Someone has to sort them, and urgent messages wait. Divi's own Contact Form sends every submission to the addresses in its one Email Address setting, so it cannot route by answer. Here is how to send each message straight to the right person.
This guide builds that form step by step, using HappyDivi Form 1.0.4 on Divi 5.15.1.
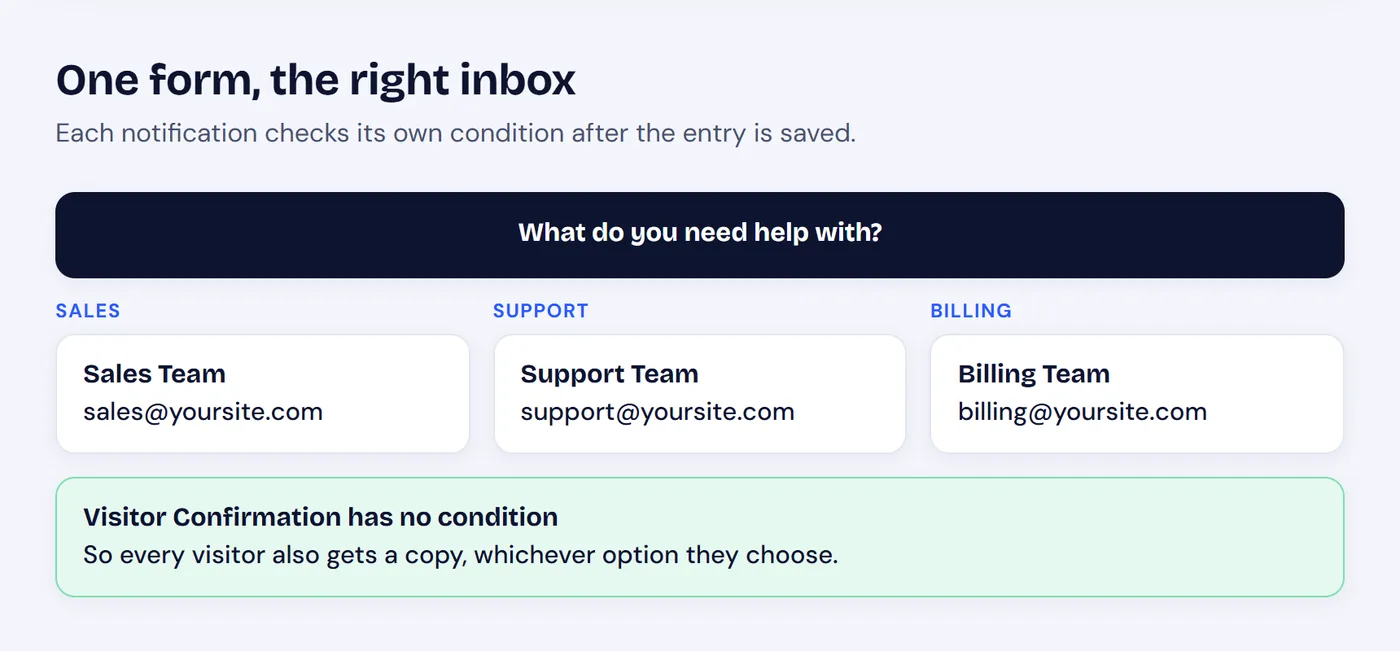
One question decides the team. Every visitor still gets a confirmation.
Step 1: Add the Question That Decides the Route
Add a Select Dropdown to your form and give it the Field ID department. Our options are Sales, Support and Billing. Radio buttons work the same way.
Keep the choices clear
Visitors pick the route, so use words they would use. "Billing" is easier to understand than "Accounts Receivable".
Step 2: Add One Notification per Team
Select the form module and open Email Notifications. For each team:
- Click + Add Notification and give it a clear Label, such as Sales Team. You will see this name in your logs.
- Set Send To to Fixed Email Address and enter the team's address.
- Write a Subject and Body. Step 4 shows how to fill them with the visitor's answers.
- Under Send only when, click + Add Condition and choose department, is equal to and Sales.
Repeat for Support and Billing. The duplicate button on each notification saves retyping.
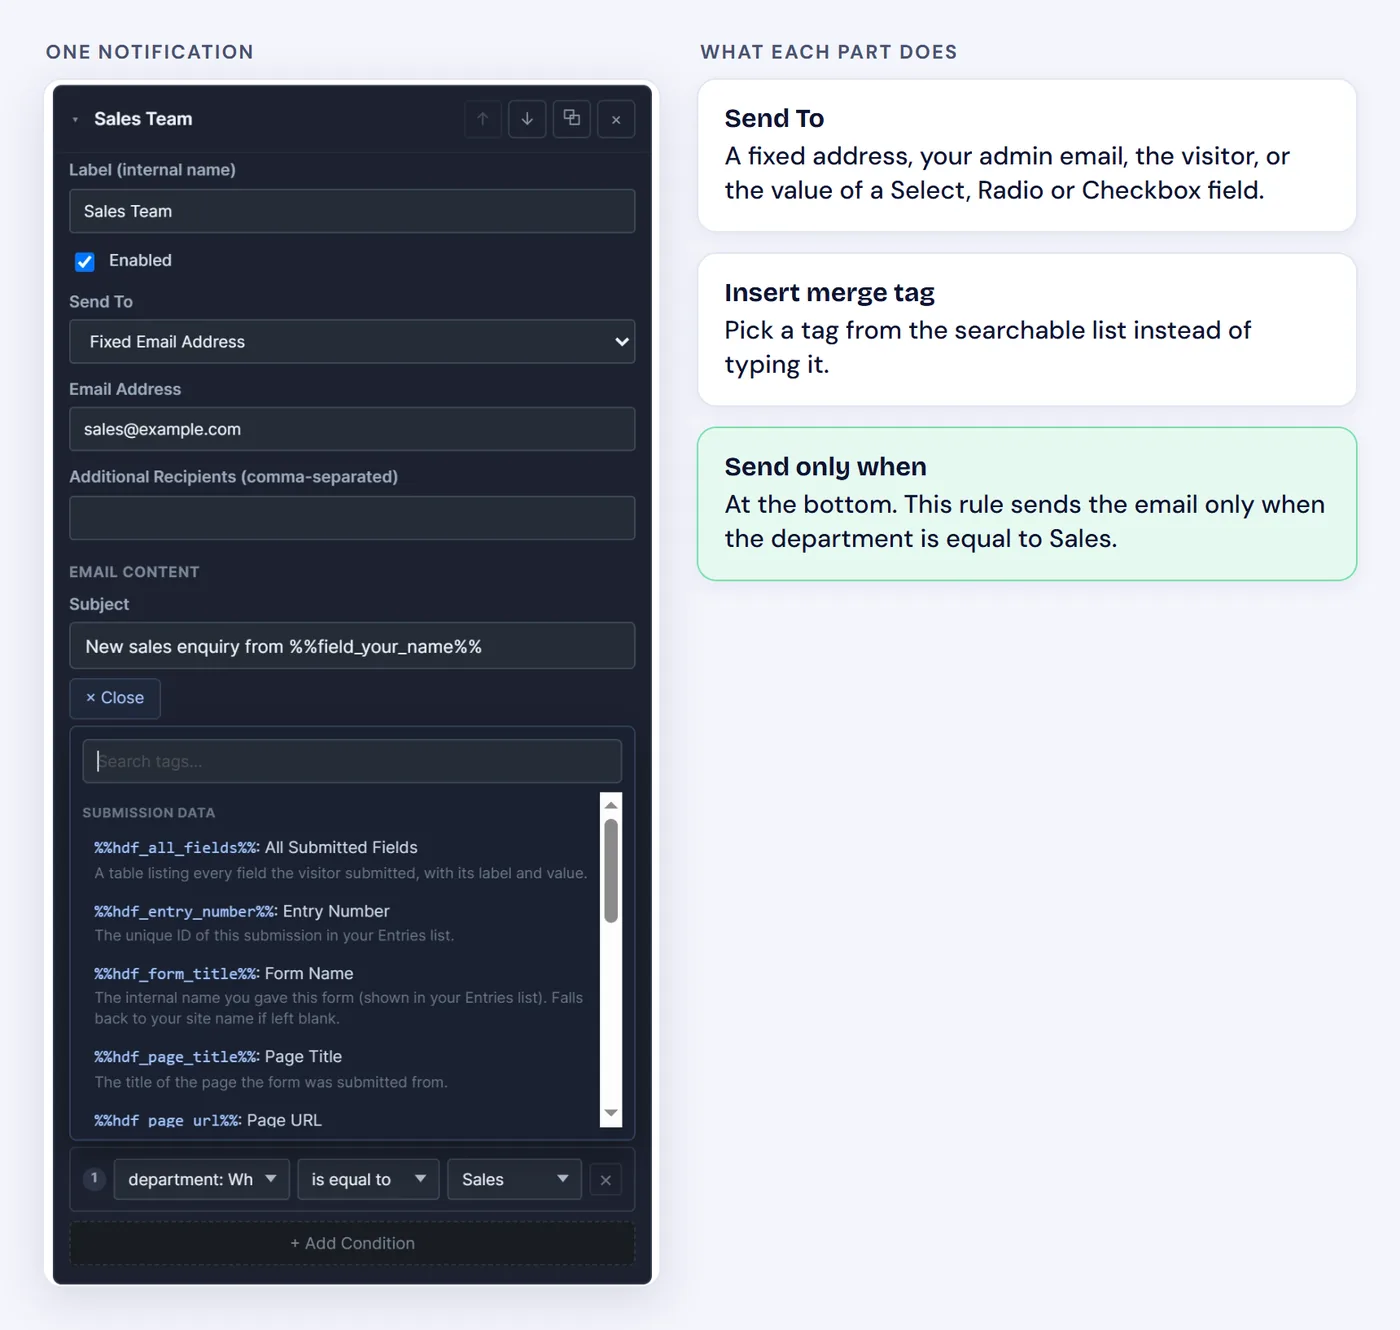
Every team gets its own notification, recipient and condition.
More than one condition?
A notification with several conditions sends when any one of them matches. For example, route both Sales and Billing to one person by adding a condition for each.
Which Send To Option Should You Choose?
| Send To | Sends to | Good for |
|---|---|---|
| Fixed Email Address | The address you type | A team or department inbox |
| Site's Admin Email | The admin address in Settings, Email | Forms that should follow one central address |
| Submitter's Email | The address the visitor typed | Confirmation emails |
| Value From a Form Field | The value of a Select, Radio or Checkbox field | Option values that are themselves email addresses |
Free-text fields are deliberately not offered as a recipient, because a stranger could type any address and use your form to send email. Need extra people on one notification? Use Additional Recipients, CC or BCC.
Step 3: Send Every Visitor a Confirmation
Add one more notification and set Send To to Submitter's Email. Leave Send only when empty, because a notification with no conditions always sends.
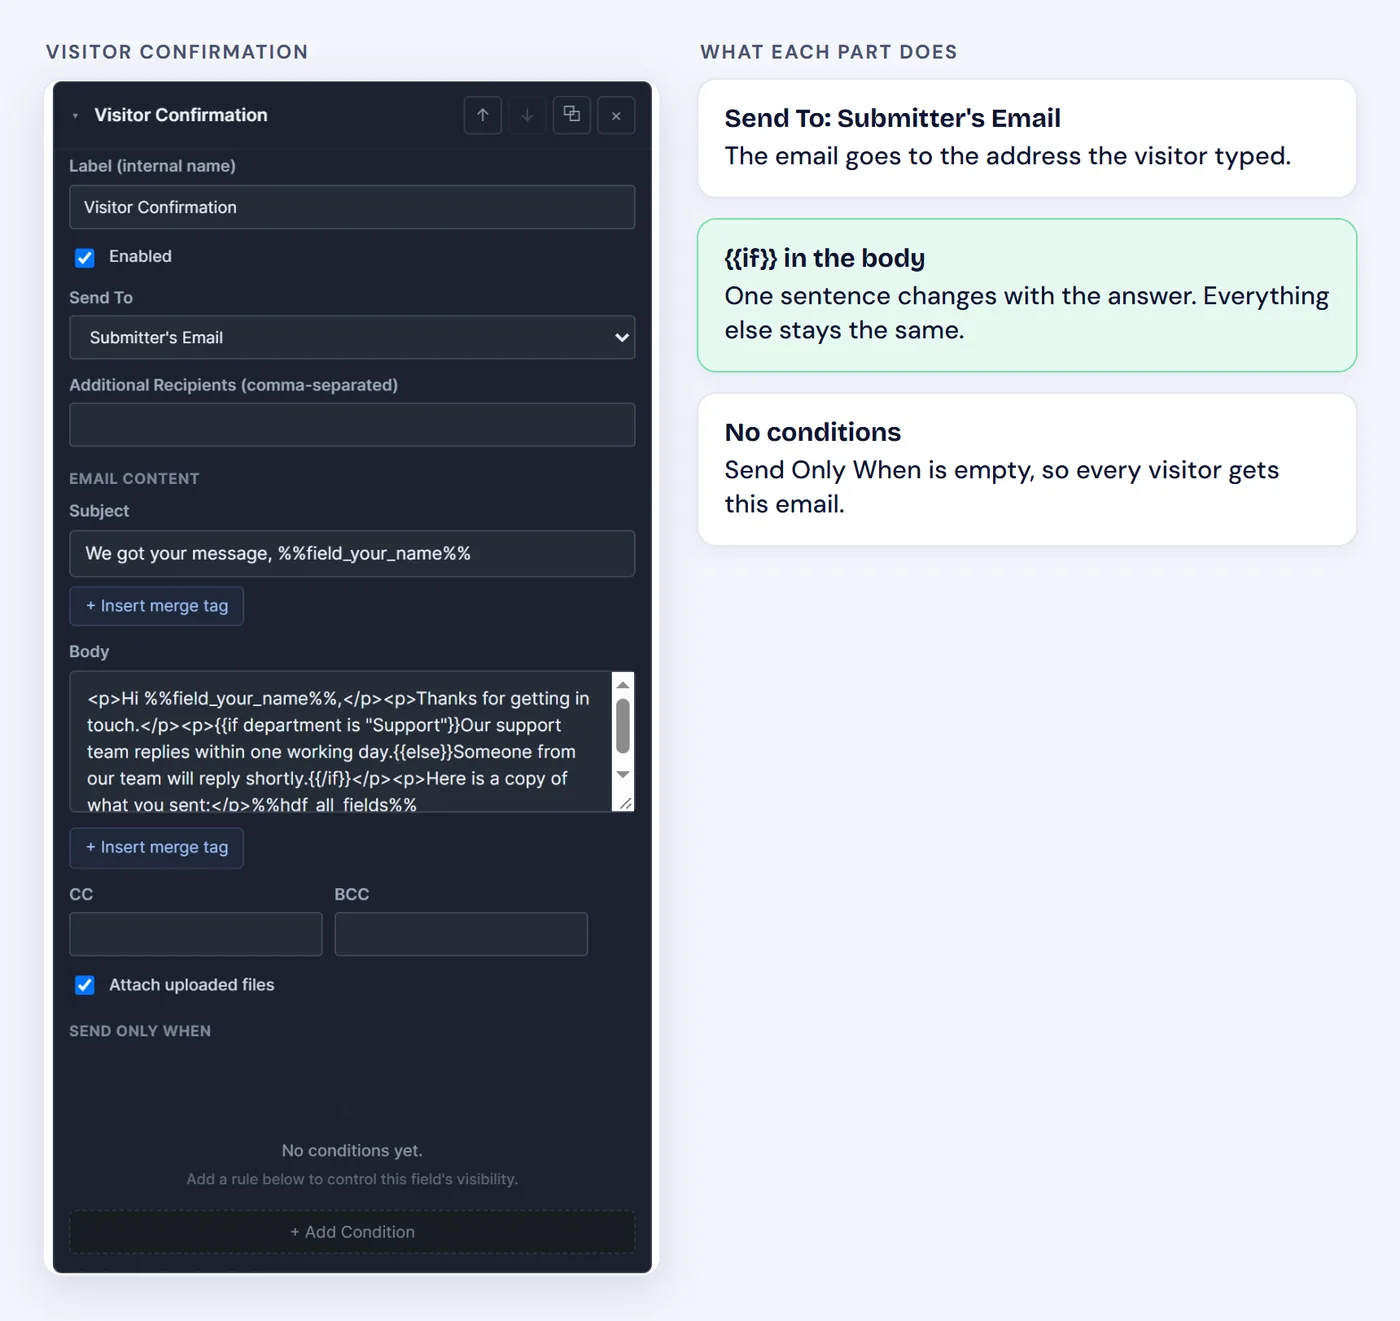
No conditions, so every visitor receives this one.
Step 4: Personalize Emails With Merge Tags
A merge tag is a placeholder that fills in with real data when the email goes out. Click + Insert merge tag to choose one from a list. Each form field has its own tag, based on its Field ID, such as %%field_your_name%%.
| Merge tag | What it adds |
|---|---|
%%field_your_name%% | The answer from the field with that ID |
%%hdf_all_fields%% | A table of every submitted field |
%%hdf_entry_number%% | The entry's ID in your Entries list |
%%hdf_page_title%%, %%hdf_page_url%% | The page the form was sent from |
%%hdf_form_title%% | Your internal form name |
%%hdf_date%%, %%hdf_time%% | When the form was sent |
%%hdf_ip%%, %%hdf_user_agent%% | The visitor's IP address and browser |
Use paragraph tags for spacing
Emails are sent as HTML, so pressing Enter does not create a new line. In our preview, plain line breaks ran together until we wrapped each paragraph in p tags, as in the example below.
Step 5: Change One Sentence With {{if}}
You do not always need a separate email. To change one sentence, write an {{if}} block inside the body:
<p>Hi %%field_your_name%%,</p>
<p>Thanks for getting in touch.</p>
<p>{{if department is "Support"}}Our support team replies within one working day.{{else}}Someone from our team will reply shortly.{{/if}}</p>
<p>Here is a copy of what you sent:</p>
%%hdf_all_fields%%
The operators are is, is not, contains, does not contain, starts with, ends with, is empty, is not empty, is greater and is less. Blocks cannot be nested. A typo does not break the email, but the raw text will show, so always preview first.
Step 6: Preview Before Anyone Submits
Go to HappyDivi Form → Preview & Test, choose your form, type sample answers and click Run Preview. You will see which emails would send, why the others would not, and how each one looks. Nothing is saved or sent.
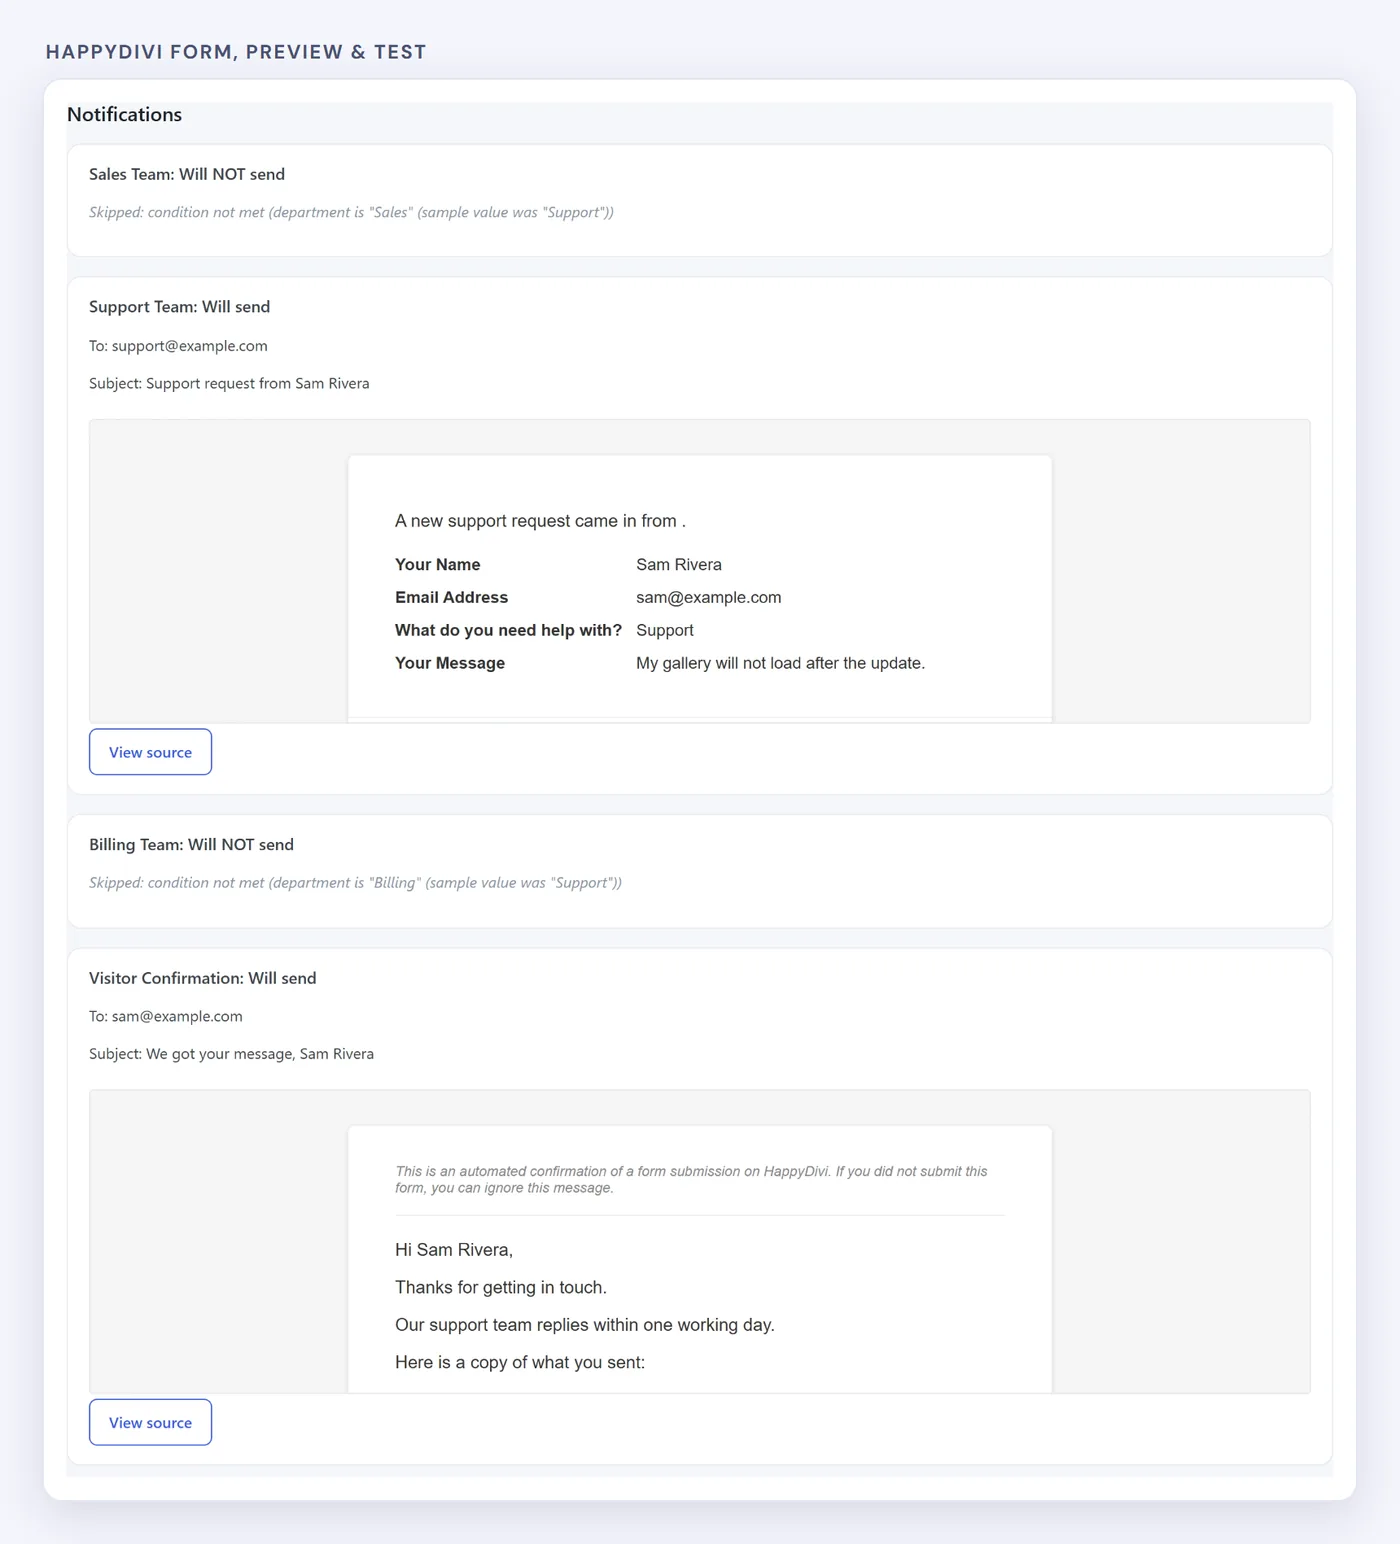
With Support selected, the Sales and Billing emails are skipped, and each result says why.
Blank tags in the preview
No real entry exists during a preview, so the entry number and page details stay blank. That is why our preview says "came in from" with no page name. In a real submission, these filled in correctly.
What We Tested
We submitted this form for real on a test site, once for each team:
- Sales queued the Sales Team email and the Visitor Confirmation.
- Support queued the Support Team email and the Visitor Confirmation.
- Billing queued the Billing Team email and the Visitor Confirmation.
- The subject lines in the Email Log showed the visitor's real name, such as "New sales enquiry from Maya Chen".
Our test site had no working mail server, so the emails stayed queued and did not reach an inbox. Send a real test on your own site. If nothing arrives, follow our guide to fixing a Divi contact form that is not sending email. Your submissions stay safe either way, as every entry is saved in WordPress.
Frequently asked questions
Can a Divi contact form send to different emails based on a selection?
Not with Divi's own Contact Form, which sends each submission to the addresses in its one Email Address setting. HappyDivi Form Pro lets you add a notification per recipient, each with its own condition.
Can I send more than one email for each submission?
Yes. HappyDivi Form Pro sends every notification whose conditions match, so one submission can email a team and also send the visitor a confirmation.
Is conditional email routing in the free version?
No. Custom notifications are a Pro feature. Free forms use the default admin and confirmation emails set under Settings, Email.
What happens if no notification matches?
Only notifications whose conditions match are sent, so a submission could send no team email. Add a catch-all notification with no conditions if someone should always be told. The entry is saved in WordPress either way.
Can visitors type the email address the form sends to?
Only as the Submitter's Email, which is used for their own confirmation. Free-text fields cannot be chosen as a team recipient, which helps stop your form being used to send spam.
From HappyDivi
HappyDivi Form
Saves every entry inside WordPress, so a lead never depends on an email arriving.
- 22 field types, multi-step forms and conditional logic
- Native Divi 5 module
Free plan available
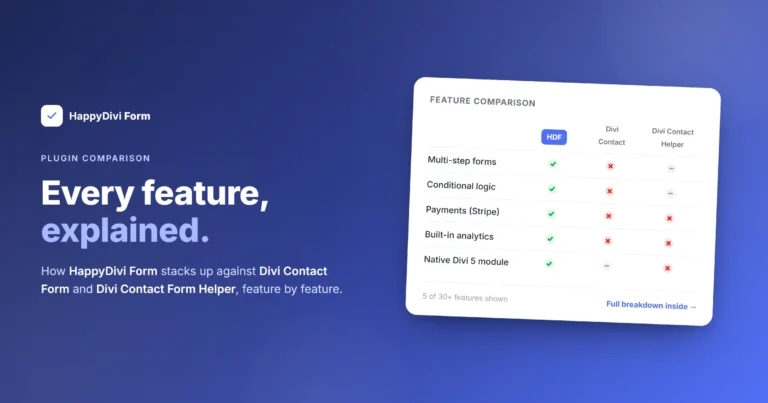
Comparing form plugins? See every HappyDivi Form feature compared with Divi Contact Form and Divi Contact Form Helper.
From HappyDivi
HappyDivi Form
Saves every entry inside WordPress, so a lead never depends on an email arriving.
- 22 field types, multi-step forms and conditional logic
- Native Divi 5 module
Free plan available